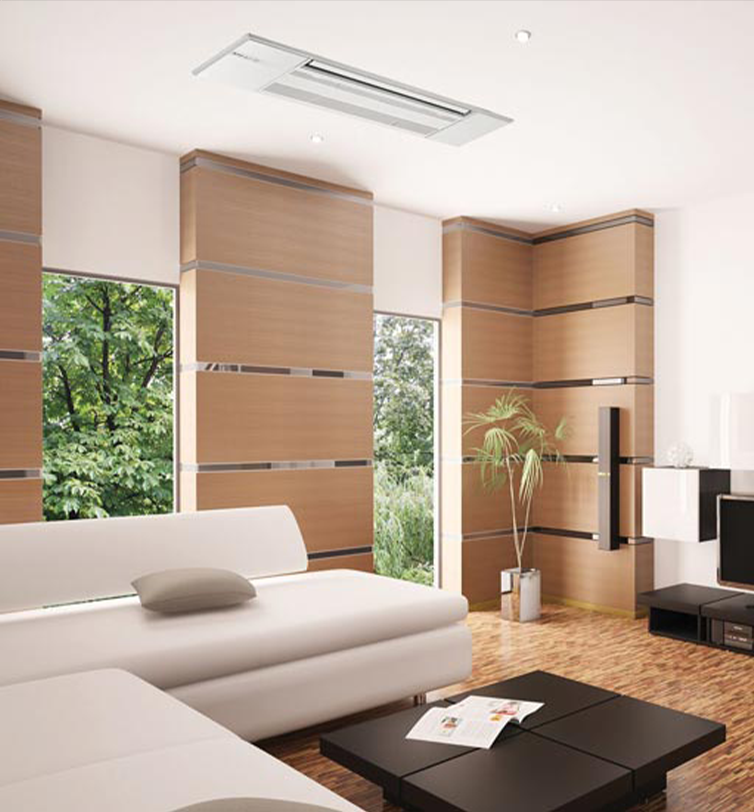
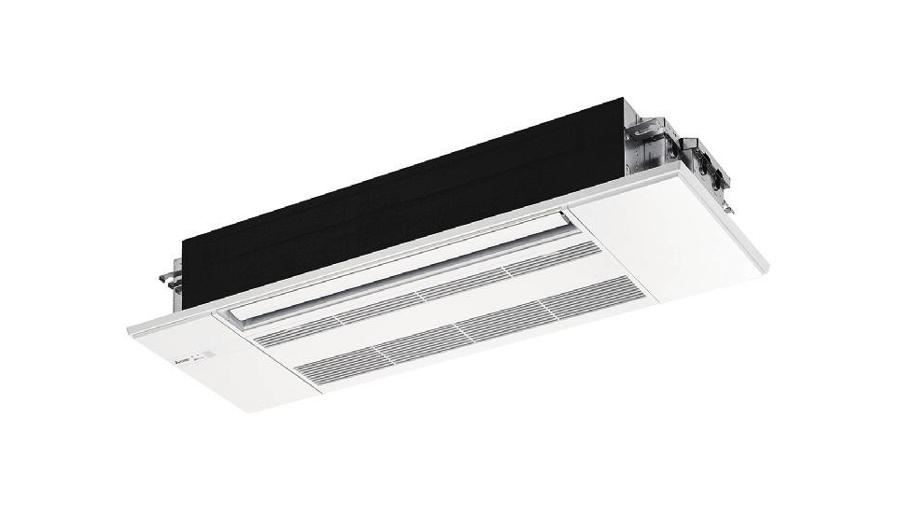
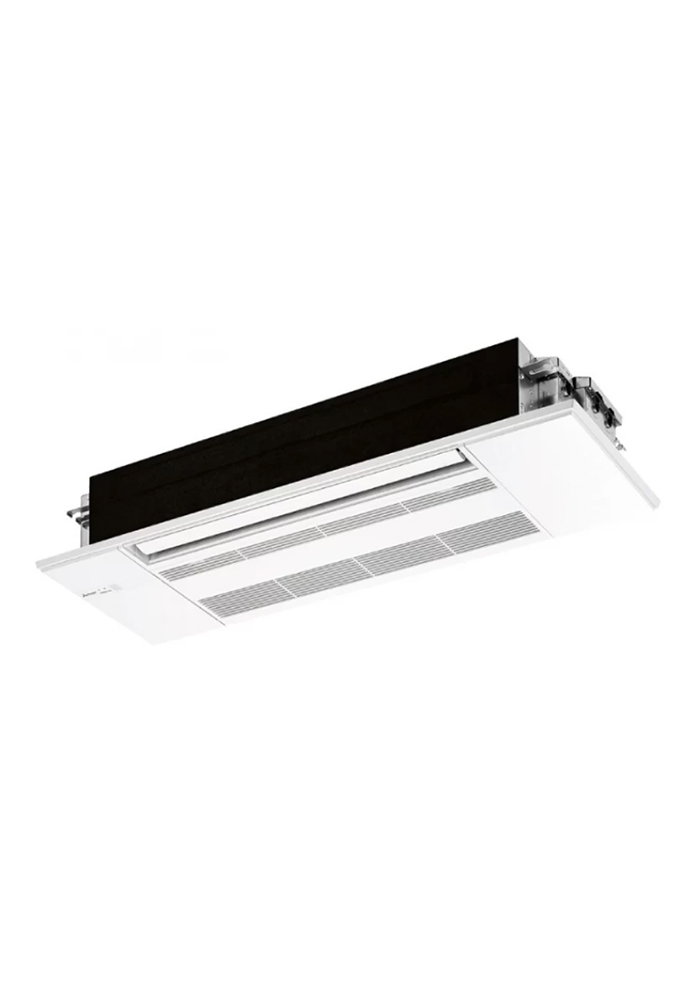
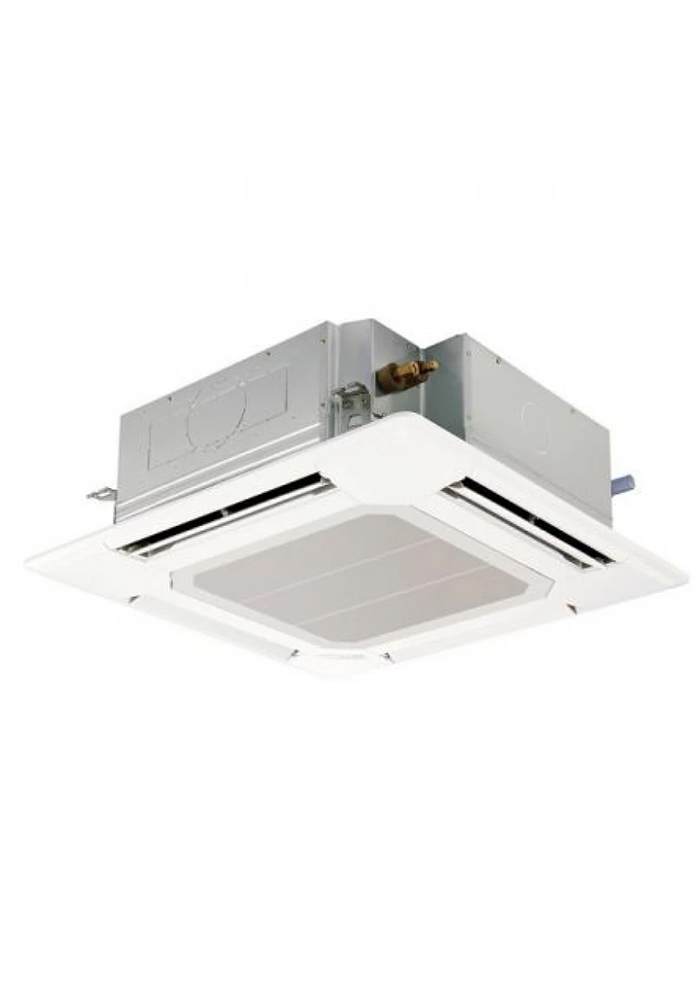
We introduce a new type of ceiling cassette for the MULTISPLIT series, with rounded indoor dimensions and an elegant, attractive look.
Key technologies


| Capacity kW | ||||||||||
|---|---|---|---|---|---|---|---|---|---|---|
| 1.5 | 1.8 | 2.0 | 2.2 | 2.5 | 3.5 | 4.2 | 5.0 | 6.0 | 7.1 | |
| Indoor unit | ✔ | ✔ | ✔ | |||||||
| Outdoor unit | ||||||||||
| Multisplit | ✔ | |||||||||
Slim design
The compact, slim top profile is achieved with a simple design of linear beauty.
Ceiling mounting
Installing an MLZ series unit in a room creates a sense of space that enhances the comfort of the room.
This suspended format is an excellent solution when the lighting is installed in the centre of the room and other items, such as bookshelves, are mounted on the walls.
Slim body
The new units have a slim body (only 185 mm high), ensuring easy installation even when a lowered ceiling limits the installation space.
The need for service space in ceiling recesses is also eliminated, further reducing the dimensions required for installation.
Airflow setting according to ceiling height
A two-level airflow selection is provided to match specific ceiling heights.
This is a key feature for efficiently adjusting the airflow when it is too strong or too weak because it does not match the ceiling height.
Automatic vane control
The vanes can be moved left and right, up and down, using the remote control.
This improved airflow control feature solves the draught problem.
✽ Available only when Econo Cool is set.
Horizontal airflow
The new airflow control completely eliminates that unpleasant feeling of draught by introducing a horizontal airflow that covers the entire ceiling. The ideal airflow for offices and restaurants.
Built-in weekly timer function
Easily set the desired temperatures and on/off operating times to match your lifestyle.
Reduce wasted energy by using the timer so you never forget to switch the unit off, and avoid adjusting the temperature settings.
Easy setting with dedicated buttons
The remote control has buttons used exclusively for setting the weekly timer. Setting the operating modes is quick and easy.
- • Start by pressing the "SET" button and follow the instructions to set the desired modes. After entering the desired modes, point the top end of the remote control at the indoor unit and press the "SET" button once more. (Press the "SET" button only after you have entered all the desired modes into the remote control memory. Pressing the "CANCEL" button ends the setting process without sending the operating patterns to the indoor unit.) • It takes a few seconds to transmit the weekly timer operating modes to the indoor unit. Please keep pointing the remote control at the indoor unit until all data has been transmitted.
Easy installation
Reduced top dimensions of the unit
An innovative size that allows the refrigerant pipes to be bent above the unit.
Temporary hanging hook
Work efficiency during installation has been improved.
Drain route supports + drain pan cover
Wi-Fi interface installation (optional)
The indoor unit panel has a Wi-Fi interface slot, contributing to a neat appearance, easy installation and maintenance.


 EN
 RO